Chicken Broth Recipe
We’re diving into the art of making the perfect chicken broth for your gluten-free ramen. Follow along for a step-by-step guide to achieving a rich, flavorful base that will elevate your ramen game to the next level.
Step 1: Clean the Chicken Bones
Start by cleaning your chicken carcass and bones thoroughly. This step is crucial to ensure a clear and pure broth. Add salt to the bones and soak them in water for 30 minutes. This process helps to draw out any impurities and blood, resulting in a cleaner broth.
Step 2: Prepare the Aromatics
Once your bones are ready, place them in a large pot. Add essential aromatics like garlic and ginger to infuse the broth with deep, savory flavors. These ingredients not only enhance the taste but also add a comforting aroma to the broth.
Step 3: Skim the Lye
As the broth simmers, you’ll notice a layer of foam, known as lye, forming on the surface. Carefully remove the dark-colored lye while leaving the white lye, which contains umami-rich compounds. This step ensures your broth remains clear and packed with flavor.
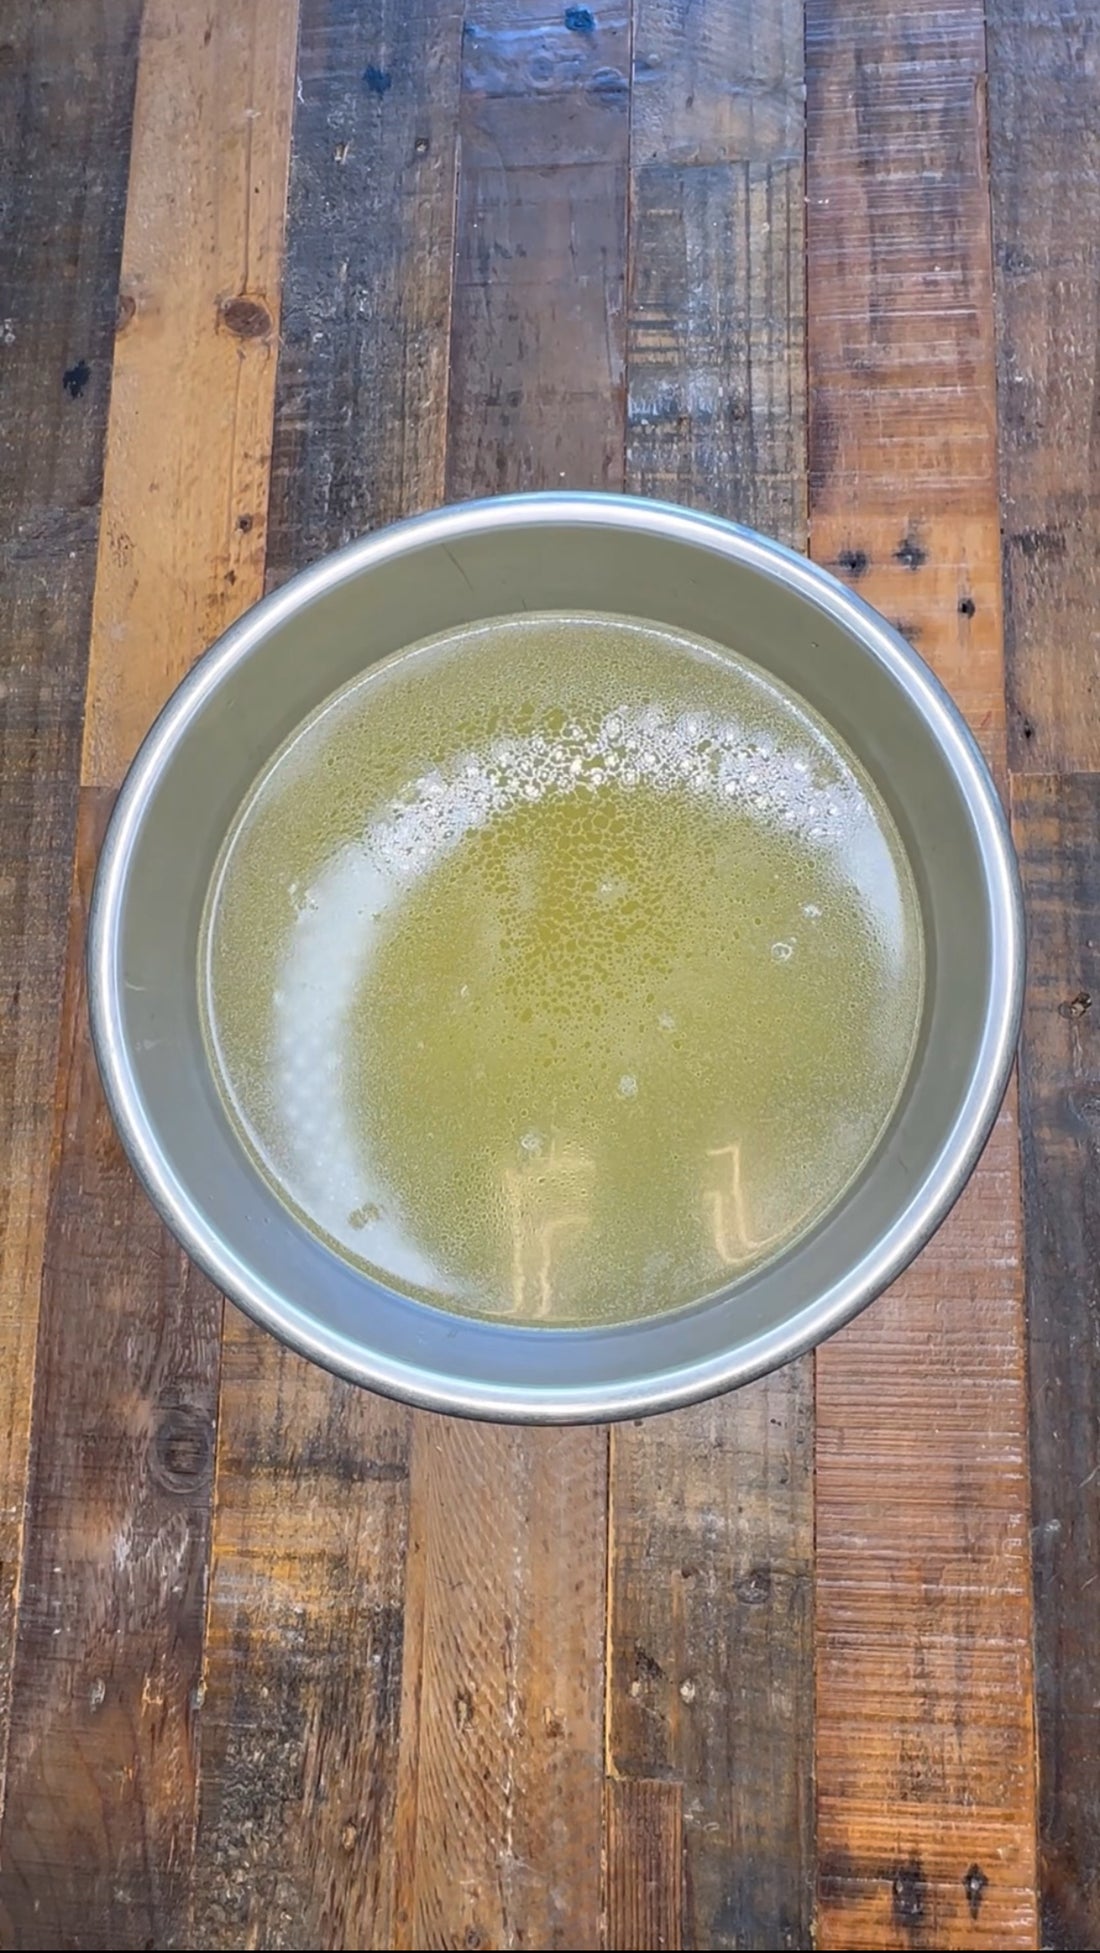
Step 4: Strain the Broth
After simmering the broth for a few hours, strain it to achieve a crystal-clear, golden liquid. This process removes any remaining impurities, giving you a pristine and visually appealing broth.
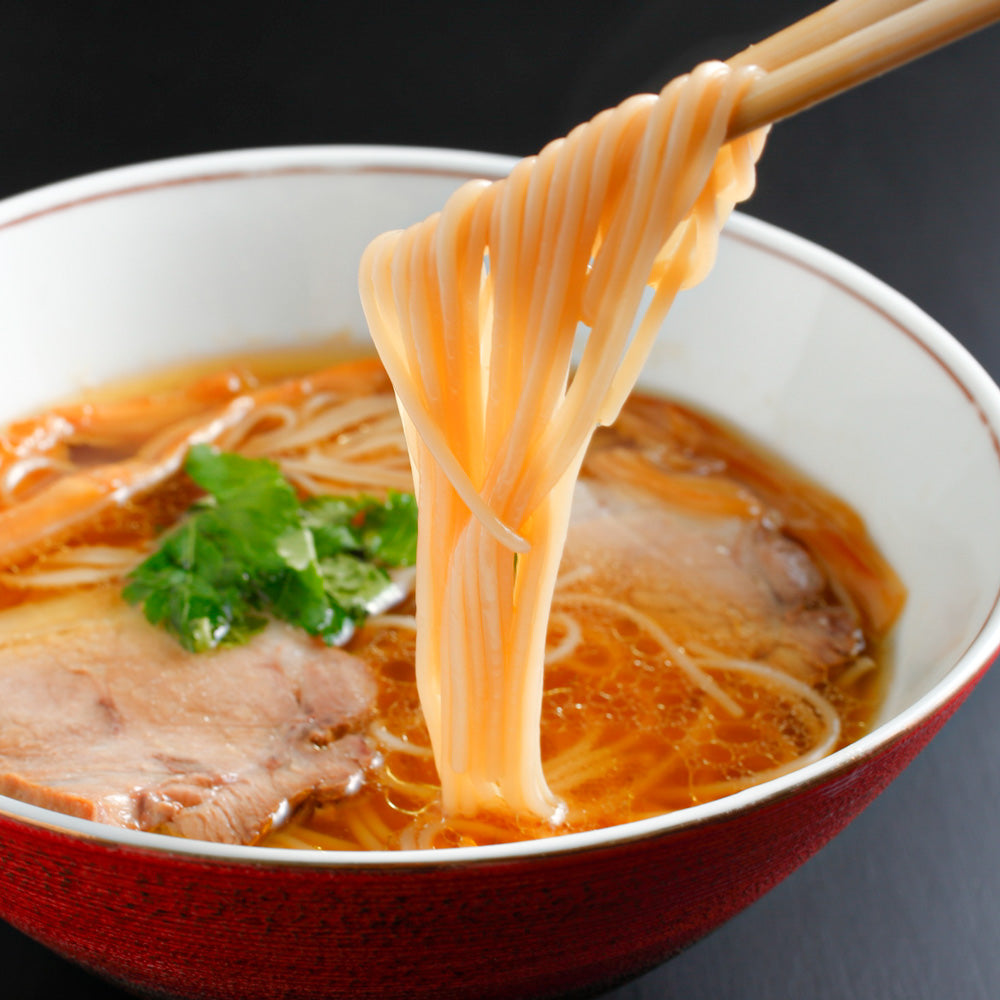
Step 5: The Foundation of Ramen
Remember, there are five key components to a perfect bowl of ramen: tare (seasoning), aroma oil, broth, noodles, and toppings. Today, you’ve mastered the foundation – the broth. This golden elixir is what ties all the other elements together, creating a harmonious and delicious bowl of ramen.
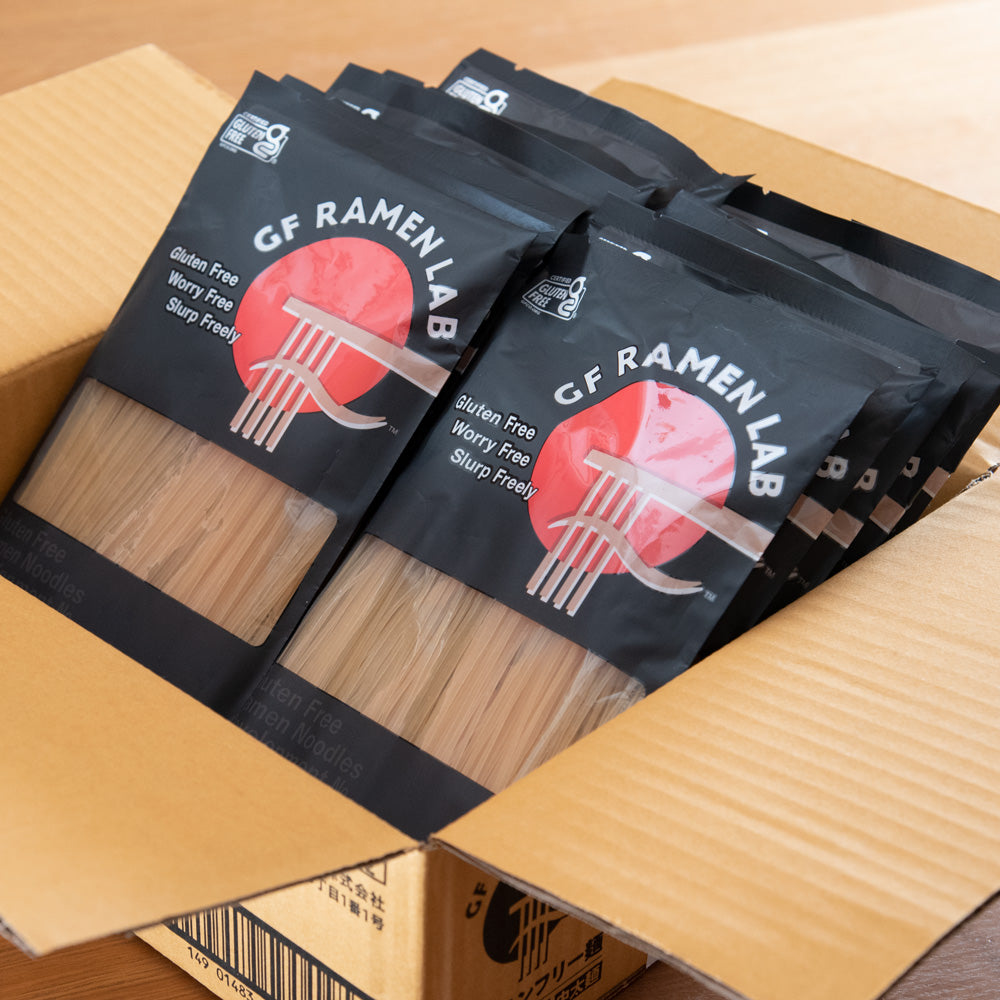
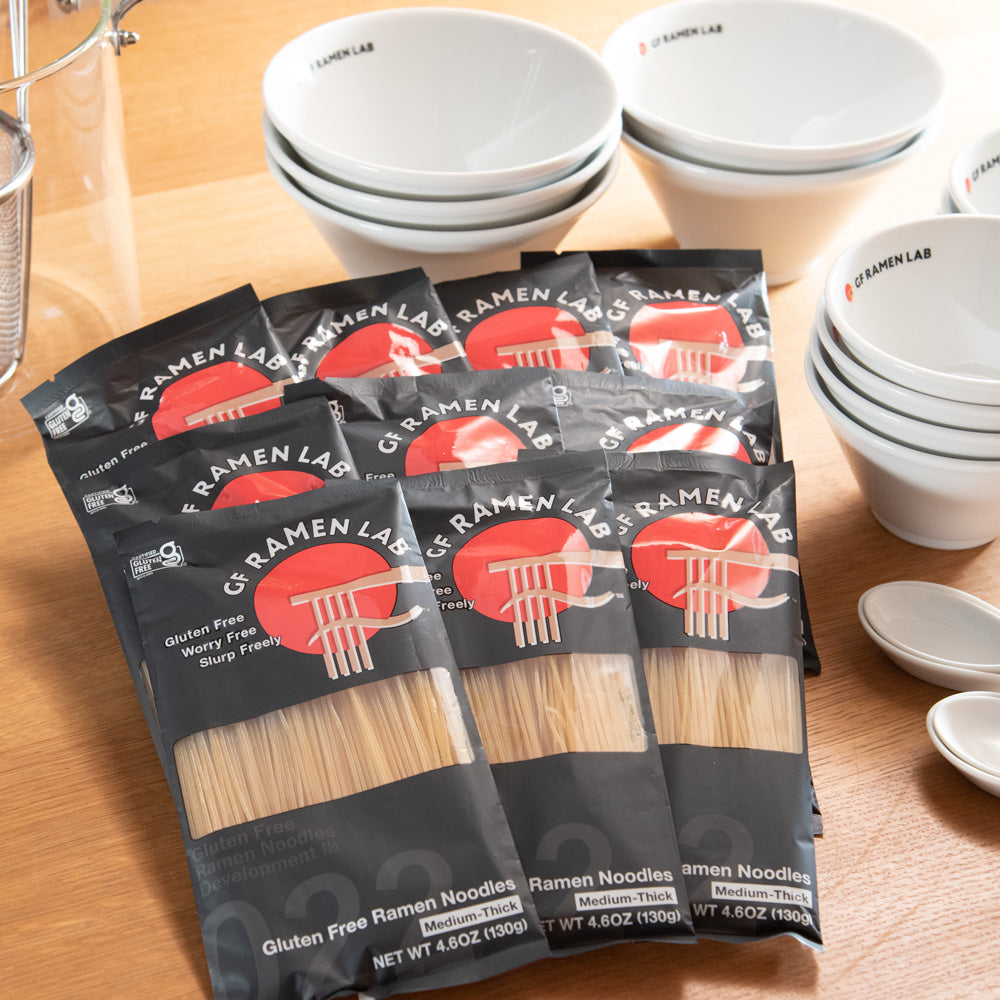
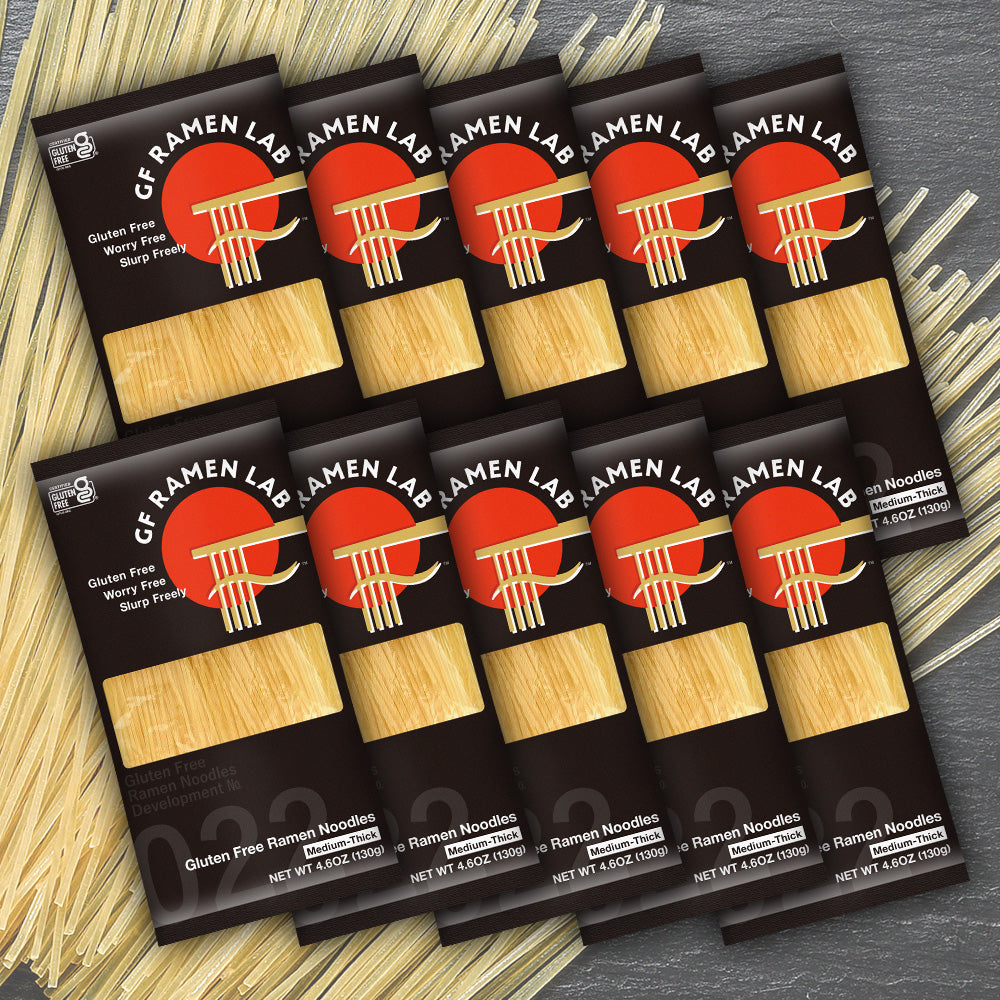
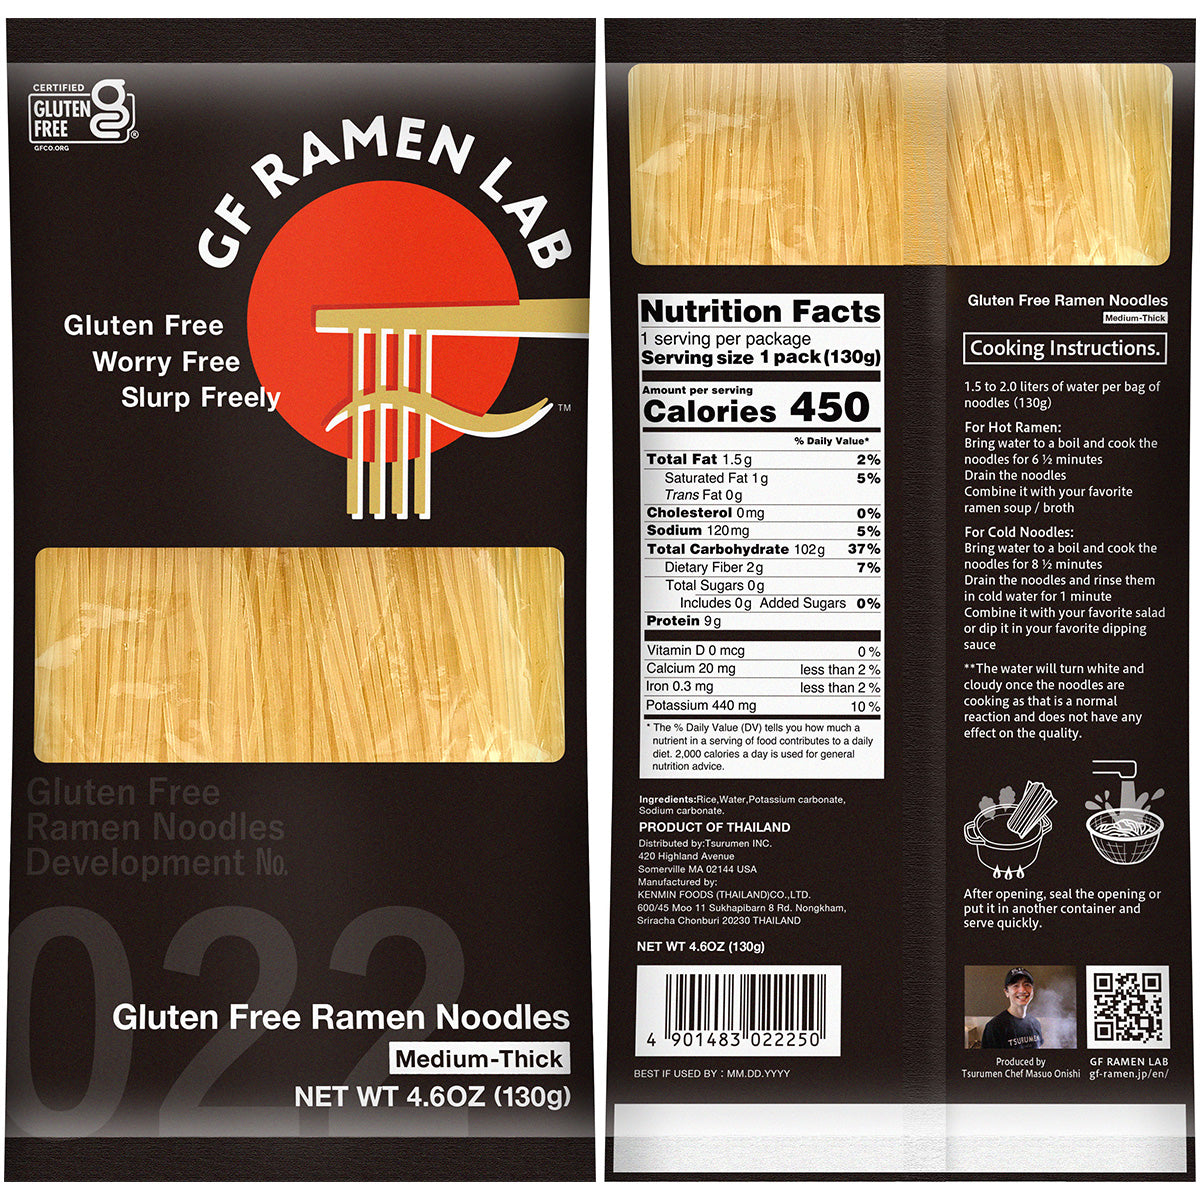
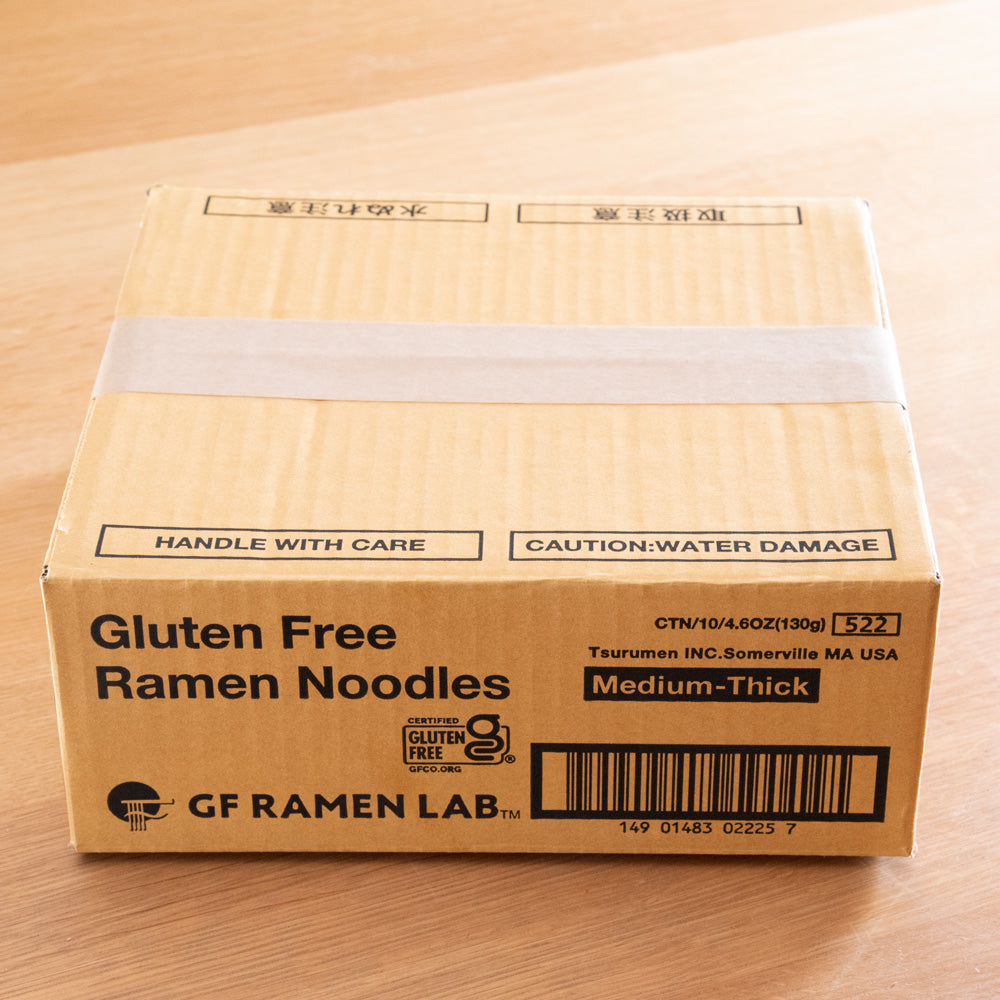
Thank you for joining us on this culinary journey! Don’t forget to grab your GF Ramen Lab noodles and try this recipe at home. Have a GF day!